
How to Install an Under-Mount Sink in a Wood Countertop?
Many homeowners in Houston have a wood countertop that they want to replace with an under-mount sink. Installing an under-mount sink on a wood countertop is very straightforward. It just takes some preparation and cutting out of the hole for the sink itself.
What Are the Steps to Installing an Under Mount Sink?
It is effortless to install an under-mount sink on a wood countertop. Here are the steps to take to install an under-mount sink in a wood countertops Houston.
1. Remove Old Caulk or Adhesive
Ensure to remove any old caulk or adhesive used when your countertop was installed because these substances can damage the sink’s surface when installing it.
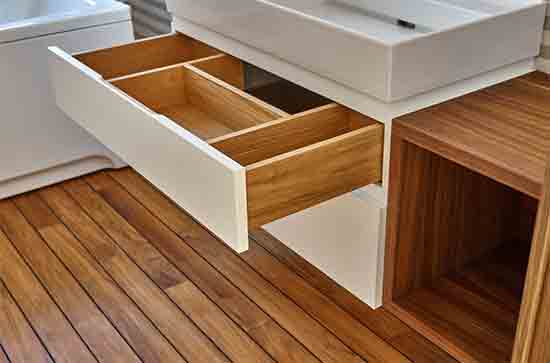
2. Cut a Hole in the Countertop for the Sink
You will also need to cut out a hole in your countertop for the sink itself, which is done by drawing a circle around the edge of the sink on top of the countertop and then cutting inside that outline.
3. Prepare for Under Mount Installation
After this step has been completed, make sure to clean the sink with mild dish soap and wipe it down so that you have a clean surface. Then, place the sink upside down on top of your wood countertops Houston, where it will be installed. Ensure there is enough space around the edge so that it doesn’t fall off when someone bumps into it or something accidentally hits it.
4. Drill a Hole for the Tailpiece
Now that you have an outline of where to cut out, drill a hole for the Tailpiece, which is the piece that will go from your sink to your drain pipe. Ensure not to drill all of the ways through your countertop because you will want a little bit of it left behind to attach the Tailpiece. Use a chisel and a hammer to remove the whole piece that you drilled.
5. Prepare For Sink Installation
Before you can attach your under mount sink itself to your countertop, you will need to wipe it down with mild dish soap and then place double-sided tape on the bottom of it. Make sure that the adhesive is applied evenly for increased adhesion.
6. Attach Your Sink

Now, you are ready to attach your under mount sink itself to your countertop. First, make sure that everything underneath it is secure so that it doesn’t slip or fall off the countertop. Then, place the top edge of your under mount sink on top of the countertop where you have placed your double-sided tape and then adjust it into position. Make sure not to push down hard because this could result in visible bumps once you take all of your items out of it. After you have lined up the sink correctly, use the holes on the countertop for screws to attach it into place. Make sure to secure it tightly so that it doesn’t slip or move around.
7. Clean Any Excess Adhesive with a Rag
Once you have attached you’re under mount sink, make sure to clean any excess adhesive off of the countertop and the bottom of the sink. You can do this by using a damp rag with acetone and then wiping it away with another rag dipped in warm water.
Conclusion
I hope you have learned how to install an under-mount sink on a wood countertop with this article. This is not the only way to do it, but it’s one that I thought looked really neat based on the work that was done to my flooring. If you have any comments or questions, please leave them in the comment section below.